Getting springy: an intro to spring animation
Welcome to a deep dive into how to create spring animations on the web with JavaScript. If you just want to play with a spring animation yourself and see some pretty colors, you can skip to here.
We animate what we can and see only what we animate.
- Ralph Waldo Emerson, Experience
There's nothing like spring. The birds are singing, the flowers are blooming, the sun is shining. The tank is clean.
I'm feeling animated by it all. So, in the spirit of spring, let's make some beautiful spring animations on the web by first digging into the roots of how spring animations work.
What's a spring animation and what's the point of it?
A spring animation is an animation that uses the concept of physical springs to calculate its trajectory.
What sets spring animations apart from, say, a linear animation or ease animation (a non-linear continuous function, e.g. a bezier curve), is that its path is not a simple function of time.
Instead, a spring animation's state—its position and velocity—is based on its previous state. This can make the animation feel more alive and, well, springy, since real-world forces like tension and friction are acting on it in real-time, instead being a simple function of time.
Check out these animated circles to get a sense of the difference between a spring animation and a linear animation. The top circle is spring animated and the bottom is animated using a simple linear function. Notice how the top one seems more poppy and alive.
How it works
A spring animation is modeled after a physical spring, which consists of a coil with a weight hanging from it. When the spring is stretched—i.e. when you add tension to it—and then let it go, the spring bounces back to its natural state according the laws of physics and the spring's properties such as tension, friction, and mass.
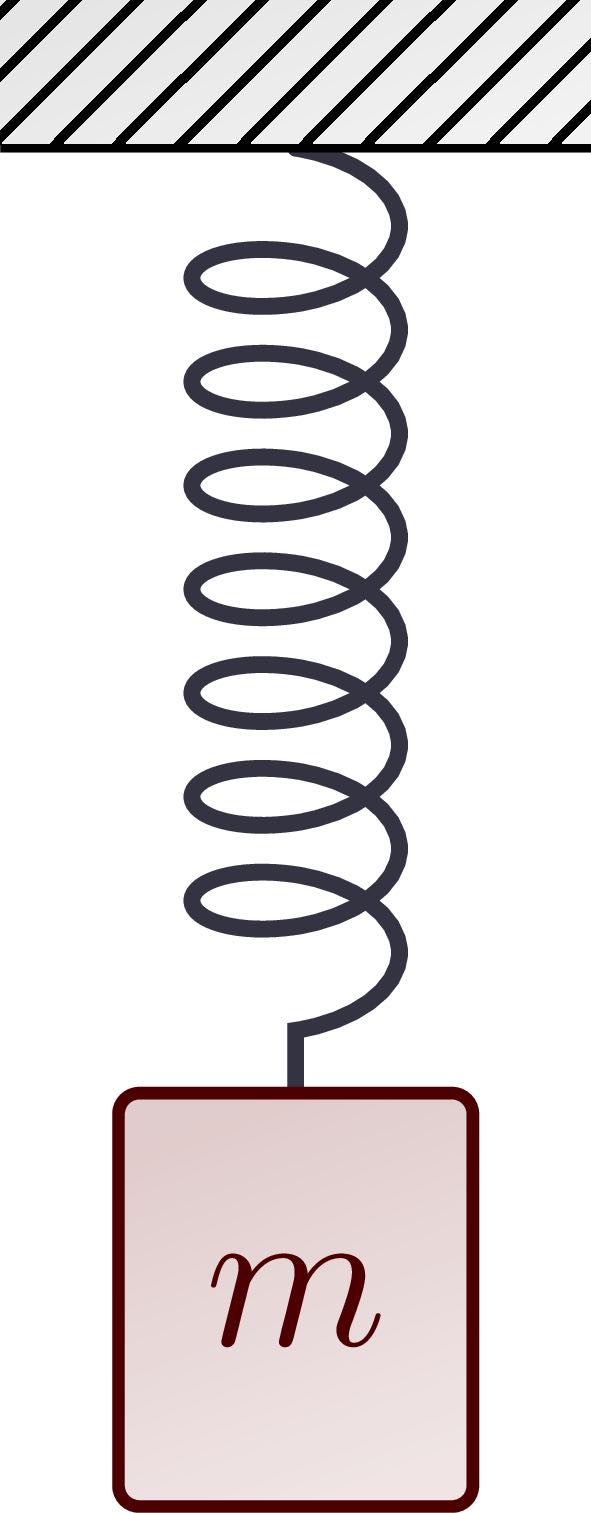
A spring animation works the same way, except we don't have to bother with stretching actual physical springs, and can set the mass, tension, and friction to whatever we want.
We can also start and end the spring from wherever, so for simplicity I'll have the spring animation start at position of 0 and end at position 1.
To update the spring's position, we first need the delta time, or the time elapsed from the previous frame of our animation.
Then we need to set some minimum unit of time over which the spring simulation is run, which we can call step duration. This will determine how many "steps", or spring calculations, are run each each second. When we divide the delta time by the step duration, we get how many steps need to be run each frame of the animation.
Why do we need to do this? Because, while in in nature time is theoretically "continuous"—i.e. there's no frame-rate or minimum unit that time is sliced into—on a computer we need to actually calculate a spring's position in fixed intervals. You can't run an infinite number of calculations (it would probably be really slow).
So instead, we approximate the spring by running a lot of calulations, say 1,000 or more per second, and that makes it appear like it's actually continuous, as it is in nature.
The more "steps" you run each frame, that more natural the spring will appear. Of course, there are performance trade-offs, since the more steps are run, the more spring calculations need to be made each frame. I think a good starting point is to set the step duration as 1 millisecond, so we end up running 1,000 spring calculations per second. Since the delta time will usually be between 1/30 and 1/60 of a second, this means we'll run roughly 8-17 spring calculations per frame.
So in the function we're we do the spring calculation, we take the delta time divided by the step duration to get the number of steps the simulation is going to run through.
For each of those steps, we do the following:
Take the difference betweent the current position and the end position. In the very first step of the first frame this is 1 since we're starting at 0 and going to 1 (1-0 = 1).
Then you calculate the tension force by taking that difference multiplied by the tension of the spring. A way to think about this is that the tension force is always proportional to the distance between the spring's current position and ending position. The farther the spring is from it's end position—its "natural" state—the more the tension force will impact its velocity, even though the tension of the spring itself remains constant.
const tension_force = tension * (end_position - position);
Then you calculate the "damping" force, or friction's impact on the spring. Instead of being proportional the spring's position, the friction is proportional to its velocity. More velocity means more friction force acting on the spring. Friction always acts in the opposite direction that the spring is moving (even if it went passed the end and is moving back to its end position).
const damping_force = -friction * velocity;
With the tension force—what's pushing the spring towards its end state—and the friction force—what's pushing the spring against its velocity—you can calculate the spring's acceleration which is tension force minus friction force. The acceleration is proportional the mass of whatever you're animating so you divide that by mass to get the final acceleration.
const acceleration = (tension_force + damping_force) / mass;
Then you calculate velocity which equals the current velocity plus that acceleration.
velocity = velocity + acceleration*step_duration;
Finally, you can get the new position by taking the last position and adding the velocity multiplied by the step duration.
position = position + velocity*step_duration ;
All in all, the spring calculation looks like this:
// start out at position 0 (let declaration since we'll be updating it)
let position = 0;

// end at position 1
const end_position = 1;

// spring parameters
const tension = 1;
const friction = 1;
const mass = 1;

// step duration
const step_duration = 1/1000; // 1 ms or 1/1000 seconds

// calculate tension force
const tension_force = tension * (end_position - position);

// calculate damping force
const damping_force = -friction * velocity;

// calculate acceleration
const acceleration = (tension_force + damping_force) / mass;

// calculate velocity from accelration and step duration
velocity = velocity + acceleration*step_duration;

// calculate position from velocity and step duration
position = position + velocity*step_duration ;
Pretty straight forward (or is it springing forward?). But that's just what happens in one "instant" of time (in this case, 1 millisecond). We need to run that for however many milliseconds have elapsed from the previous frame to this frame.
You calculate the number of steps by taking the delta time divided by the step duration (1 ms). Then we'll run the spring calculation for each of those steps.
We can use a for loop to repeat the spring calculation for each step, which ends up looking like this:
const step_duration = 1/1000; // 1ms or 1/1000 second step duration
const num_steps = Math.ceil((delta_time) / step_duration); // take the ceiling since you can't run a  "partial" step

for (let i = 0; i < num_steps; i++) {
    const tension_force = tension * (end_position - position);
    const damping_force = -friction * velocity;
    const acceleration = (tension_force + damping_force) / mass;

    velocity = velocity + acceleration * step_duration;
    position = position + velocity * step_duration;
}
That's basically all there is to it.
We just need to make sure we save the velocity and position values so we can use them in the next run through the animation loop.
But we also need to check if the spring has finished.
Finishing
We don't want to keep running the spring calculation once it's settled at the end position and done "springing". So let's add a check to see if the current position is greater than or equal to its end position.
But springs can go passed their end position before they're fully settled. So if we stop it as soon as it hits its end position it can look like the spring is stopping short and "clamping" at the end.
Sometimes you might want this effect but other times you might want the spring to bounce back and forth a little, like it would naturally, before settling to its end position.
So we can create a spring parameter called "clamp" that, when true, sets the spring to finish as soon as it hits its end position.
If false, however, we want the spring to keep bouncing back and forth. So instead of checking if its passed its end position, we can check that its passed its end position—or within a very small distance of it—and its velocity is below a preset minimum velocity, meaning it's essentially stationary and we can consider the spring done. If the spring is still moving quickly though, even if it's passed its end position, we want it to keep going until it gets to its end position and is stationary.
So we need to set a few more parameters, including whether to clamp, what the minimum velocity can be, below which we'll consider the spring stationary, and finally, the precision, when the spring is within that amount of its of the end position, we'll consider it at the end. For now I'll set those to true, .001, and .01 respectively.
In code that looks like this:
// set parameters
// whether to "clamp"
const clamp = true;

// min velocity (below which its considered stationary)
const min_velocity = .001;

// precision (when it's within this amount of end position, consider it at end)
const precision = .01;

const finished = (clamp && position <= params.end_position) ||
    (Math.abs(velocity) < min_velocity &&
        Math.abs(position - end_position) < precision);
This code sets the spring as finished if a) it's set to clamp and its position is greater than or equal to its end position of 1.
OR (|| means "or" in JavaScript) b) the absolute value of its velocity (since it could be going toward or away from the end position) is less than the preset minimum velocity AND the difference between its current position and end position is less than the preset precision.
Putting everything together
So we've got the spring calculation and the "finished" condition calculation. Now we just need to organize this code so we can put into action.
First let's create a spring parameters prototype object with some reasonable defaults. The final parameters will be tension, friction, mass, min_velocity,precision,clamp,step_duration,start_position, and end_position.
const spring_parameters = {
    tension: 60,
    friction: 10,
    mass: 1,
    min_velocity: 0.001,
    precision: 0.01,
    clamp: false,
    step_duration: 1/1000
    start_position: 0,
    end_position: 1,
}
The we also need to keep track of the spring's state, such as its current position and velocity, and whether it is finished.
const spring_state = {
    position: 0,
    velocity: 0,
    finished: false,
}
Finally we need the update_spring calculation from above, which will perform the spring calculations given its parameters, state, and the delta time.
After running through the spring steps, I'll update the spring_state with the newly calculated position and velocity. If the spring is finished, then I'll set finished to true and set its position to its end_position (since it might be slightly off the end_position but within the precision of it).
One more thing we can do is hard-code some factors to multiply by the tension and friction parameters so the parameters themselves can be set at numerical values that are more intuitive instead of tiny decimals. So we can multiply the tension and friction by 0.000001 and 0.001 respectively so those settings will be whole numbers. We can also calculate position and velocity per millisecond to make it faster, so I'll multiply the step duration by 1,000 when updating position and velocity. (This also makes the spring parameters compatible with react spring, a popular spring animation library for react).
Finally, we can add a condition at the beggining of the update function to check if the spring is already finished. If it is, we'll return (i.e. skip the rest of the function) since we don't need to do any more updates.
Here's the full function for updating the spring each frame given the parameters (params), state (state), and delta time (delta_time):
const update_spring = (params, state, delta_time) => {

    if (state.finished) {
        return;
    }

    let position = state.position;
    let velocity = state.velocity;

    const step_duration = params.step_duration; // 1ms or 1/1000 second step duration
    const num_steps = Math.ceil((delta_time) / step_duration); // take the ceiling since you can't run a  "partial" step

    for (let i = 0; i < num_steps; i++) {
        const tension_force = params.tension * 0.000001 * (params.end_position - position);
        const damping_force = -params.friction * 0.001 * velocity;
        const acceleration = (tension_force + damping_force) / params.mass;

        velocity = velocity + acceleration * step_duration*1000;
        position = position + velocity * step_duration*1000;
    }

    // update velocity and position state once done with all the steps
    state.position = position;
    state.velocity = velocity;

    const finished = (params.clamp && position <= params.end_position) ||
    (Math.abs(velocity) < min_velocity &&
        Math.abs(position - end_position) < precision);

    if (finished) {
        state.finished = true;
        state.position = end_position;
    }
}
If you're a fan of object-oriented programming, we can put all of this in a single object to make it cleaner to work with in a script. We can give it an update() method to update the spring animation, and also a reset() method for if we want to reset it to repeat the spring animation. We can also have a setParameters() to set the parameters if we want to update them after initialization.
Then, in practice, we can use it like so:
import SpringAnimation from './Animation.js';

const spring_parameters = {tension: 60, mass: 1, friction: 5, clamp: false};
const spring = new SpringAnimation(spring_parameters);

const tick = () => {

    const delta_time = clock.getDelta();

    spring.update(delta_time);

    something.position.x = spring.getPosition();

    window.requestAnimationFrame(tick);
}
tick();
Then we can have a button to reset the spring when you want to run it again.
<button id="resetSpringButton">Reset spring</button>
const button = document.querySelect('#resetSpringButton');

button.addEventListener('click', = () => {
    spring.setParameters(spring_parameters);
    spring.reset();
});
That's enough code, let's see it in action! You can run the spring-animated circle below by clicking the "Start" button.
Try adjusting the toggles to see how the spring animation looks with different settings for tension, friction, mass, and whether to clamp. More tension will make it springy-er, while more friction will slow it down.
70
8
1
The most important thing about a spring animation is how you use it to spring life into a web page. Like, for example, making a bunch of pretty colors fly across the screen.
And here's some more colors springing across the page for your amusement.
You can use springs to animate things in ThreeJS, or anything else controllable with JavaScript, such as CSS properties or SVG.
Here's the full code for the spring animation constructor if you're interested.
const default_spring_parameters = {
    tension: 60,
    friction: 10,
    mass: 1,
    min_velocity: 0.001,
    precision: 0.01,
    clamp: false,
    step_duration: 1/1000,
    start_position: 0,
    end_position: 1,
}

const default_spring_state = {
    position: 0,
    velocity: 0,
    finished: false,
}

export class SpringAnimation {

    constructor(parameters) {
        this.default_state = default_spring_state;
        this.setParameters(parameters);
        this.reset();
    }
    setParameters(parameters) {
        this.params = {...default_spring_parameters,...parameters};
    }
    reset() {
        this.state = JSON.parse(JSON.stringify(this.default_state));
    }
    update(delta_time) {
        update_spring(this.params, this.state, delta_time);
    }
    getPosition() {
        return this.state.position;
    }
}

const update_spring = (params, state, delta_time) => {

if (state.finished) {
    return;
}

let position = state.position;
let velocity = state.velocity;

const step_duration = params.step_duration; // 1ms or 1/1000 second step duration
const num_steps = Math.ceil((delta_time) / step_duration); // take the ceiling since you can't run a  "partial" step

for (let i = 0; i < num_steps; i++) {
    const tension_force = params.tension * 0.000001 * (params.end_position - position);
    const damping_force = -params.friction * 0.001 * velocity;
    const acceleration = (tension_force + damping_force) / params.mass;

    velocity = velocity + acceleration * step_duration;
    position = position + velocity * step_duration;
}

// update velocity and position state once done with all the steps
state.position = position;
state.velocity = velocity;

const finished = (params.clamp && position >= params.end_position) ||
    (Math.abs(velocity) < params.min_velocity &&
        Math.abs(position - params.end_position) < params.precision);

if (finished) {
    state.finished = true;
    state.position = params.end_position;
}
}